Welcome back to our blog series about organizing and cleaning up our photography collections.
If you missed the first three posts you can get caught up here with Part One, Part Two, and Part Three.
This week’s task just may be the hardest task we have to complete during the entire eight weeks. Now that we have our photos all catalogued, it is time to be absolutely ruthless and cull and purge our images.
Eek!
Yes, I am saying that I want you to go through your 3,400 photographs and actually physically delete the bad ones.
Did your heart pound faster reading that? Is your brain reeling with objections?
But, what if I NEED those photos later!?!?
Will you, really, need those photos though?
Do you plan on printing out the photos that are out of focus, poorly exposed, blurry, boring, or just plain awkward?
No.
This week I want you to open your catalogue and start culling images with no mercy.

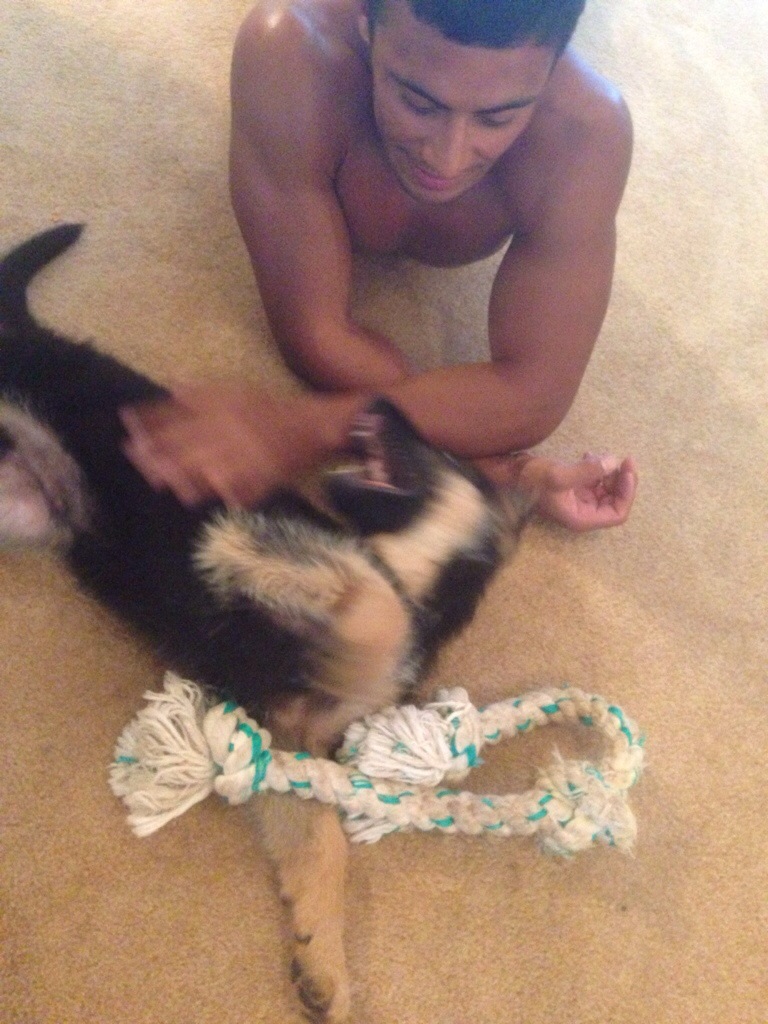


We just got a new puppy yesterday, so as you can guess I have been taking an obscene amount of photos of his cuteness. I know how hard it is to hit delete, but it must be done to keep your photos organized and maximize space on your hard drives.
Start by deleting or marking any photo that is extremely under or over exposed.
Photoshop can do a lot, but if you are over or underexposed by 2 stops or more even Photoshop can’t work miracles.
Next, cull any images that are out of focus or blurry.
No matter how great the photo could have been, if you missed the focus or unintentionally blurred your subject no amount of editing or sharpening will save the photograph. Mourn, make a mental note to double check your settings next time, and move on.
Lastly, go through your photographs and delete any that just aren’t good photographs.
This includes photographs where people are blinking or making weird faces, generally unflattering photographs, and all of those “what was I even taking a photo of?” moments.
If you have several nearly identical versions of the same photo this is also the time to go through, compare them all, and choose the best one to keep. Get rid of all the rest.
I like to cull my photos in Lightroom. If you have Lightroom as well the easiest way that I have found to cull photos is to mark any that I absolutely want to keep with a pick flag, while marking any photos that are definitely being deleted with the x key. I then filter my photos by “unflagged”. This takes out the keepers and the rejects and shows me only the maybe photographs. I then go through those and make final decisions about which will be add to the keepers (flagged) pile. I leave any that are not keepers unflagged. After I have flagged all the photos that I plan to keep I will “refine catalog” which marks all non-flagged images as rejected. After that it is a simple matter of taking a deep breathe and hitting “delete rejected photos”. Choose to delete from disk, not just remove from catalog.
The process is slightly traumatic, but think how much lighter you will feel!
If you truly have anxiety about deleting images, put all of the rejected photographs in a folder (move them, don’t just make copies!). If you haven’t opened the folder in six months, delete the folder.
Good luck!


